

Thinners and Chunkers: Plan the Hair You Leave Behind
A thinner and a chunker can both soften a finish, but they do not give you permission to keep closing until a line disappears. Every closure changes the hair that remains. On a sparse area, the line may become less obvious only because you have removed the volume that was supposed to frame it.
Plan the hair you want to keep before deciding what to remove. That is a more useful starting point than choosing a tool from a promised cutting percentage.
Give the correction a clear job
Distinguish three tasks: shortening an outline, reducing internal bulk and softening a visible transition. They may overlap, but they are not interchangeable. A long outline does not necessarily contain excess bulk. A dense-looking edge may simply be hair sitting in the wrong direction.
Let the dog stand naturally and allow the coat to settle. Identify the specific area that needs attention. If the silhouette already has the required volume, be cautious about choosing a bulk-removing correction merely because it seems easier than resetting the section.
Look at the cutting pattern
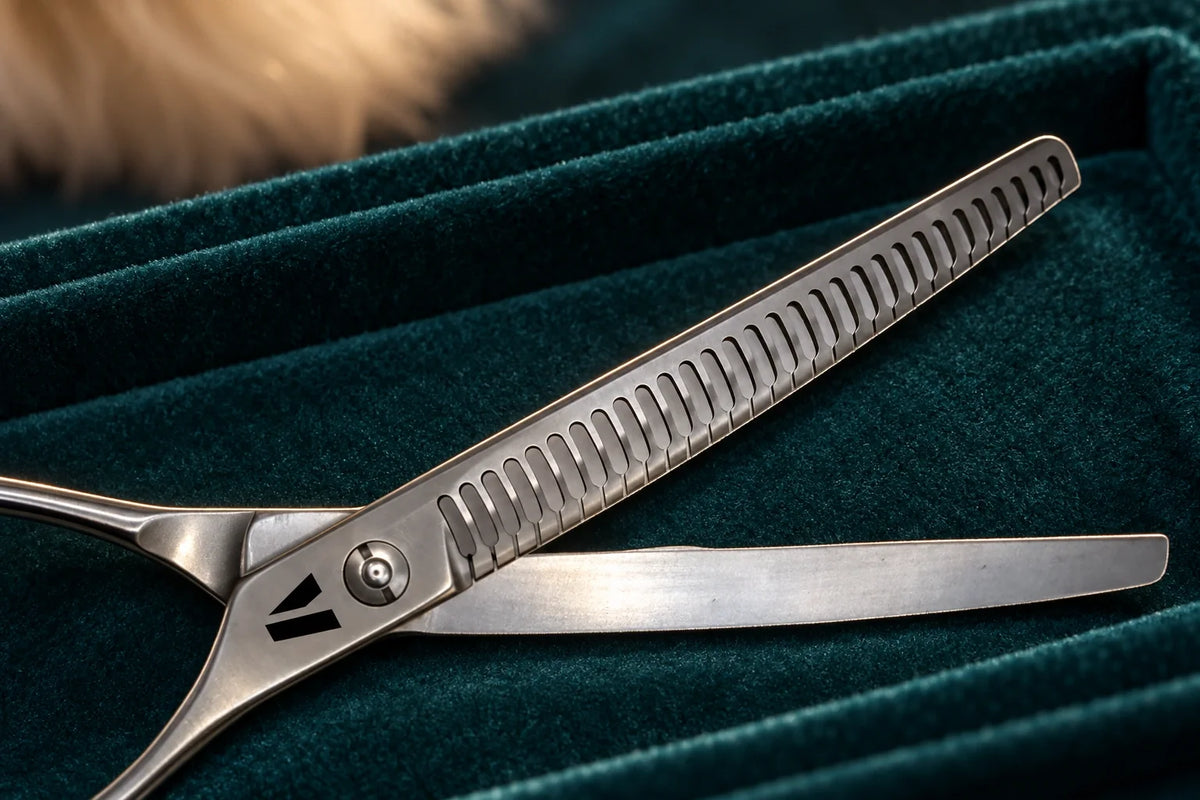
The photographed VUNRO 7.5-inch Precision Curved Chunkers use spaced cutting teeth and a curved blade shape. The VUNRO 7-inch Precision Thinners in VG10 steel offer a finer toothed pattern. Choose between their working shapes and patterns according to the correction you need.
That visible geometry is a reason to compare their effects, not a guarantee that either tool will leave no marks. Section thickness, the amount presented beyond the intended line, tool angle and repeated closures all affect the result you see.
Practise on suitable material approved for the scissors before applying an unfamiliar pair to a dog. Make one controlled closure, remove loose cut material safely and look at what remains. Use a fresh comparable section for the other tool. Repeatedly working the first section does not give the second tool the same starting point.
Leave room to assess
On a suitable live coat, work within your training and the agreed plan. After a small justified correction, stop and release the section. Use the comb only as needed to see the remaining shape. Do not use a series of rapid closures to avoid looking at the intermediate result.
Watch the boundary of your correction as well as its centre. A patch may look softer head-on while its edge is becoming thinner than its surroundings. Change your viewing position before deciding that the middle needs more work.
Keep curves and volume separate in your thinking
A curved cutting plane can help you approach a rounded shape, but it does not automatically protect that shape's fullness. You still have to decide how much hair should remain. Around moving limbs and delicate areas, visibility, control and the dog's comfort take priority over achieving a particular finish with a particular tool.
If a contour is already low in volume, a restrained adjustment with an appropriate curved finishing scissor may be a better choice than further thinning. Sometimes the correct decision is to leave the area alone and agree a grow-out plan.
Buy complementary tools, then learn their differences
A useful finishing kit gives each pair a job: straights for a planned line, curves for a suitable contour, thinners or chunkers for a considered texturing task. Add a coarse and fine comb to check and present accessible sections. Owning several tools is valuable when it gives you appropriate choices, rather than several ways to repeat the same correction.
For the deeper mechanics, read Why Tooth Count Alone Cannot Predict a Thinner's Cut. Lantra's styling standard also treats judging the amount to remove and deciding where to blend as distinct professional skills. The exercises here are practical coaching suggestions, not a measured cut-rate claim.
Keep learning
More from the Blade Blog

Separate a Dry Surface from a Dry Coat
Read the guide →
Check the Outline in Motion Before Making Another Cut
Read the guide →


